
Presenting a desktop in Microsoft Azure has the usual history of many names and some false starts. Going back to somewhere close to the beginning there was the basic ability to present a Windows 7, later Windows 10 desktop in a Virtual Machine (VM) just like you would establish a Windows, and later a Red Hat server. Access to these VMs was provided by RDP in the case of Windows and SSH in the case of the Linux VMs. This of course is still an option for any Azure customer.
In late 2018 Microsoft announced Windows Virtual Desktop and made a public preview available, with full availability the next year. This made access and control easier, with support for multi-session, application support and other features. But it didn’t last with that nomenclature and was replaced with Azure Virtual Desktop. If you’re reading here, you probably already know what you want to do with AVD so let’s dive in with a quick setup guide.
Initial Configuration
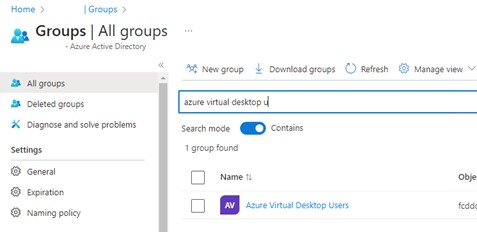
In the main Azure portal (portal.azure.com) head over to Azure Active Directory and create a security group containing the names of the people who will be accessing the service. You will need this very soon.
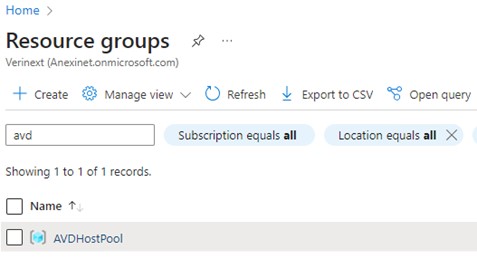
The next step is to create a Resource Group. There aren’t many settings in an RG other than to set the Azure Region.
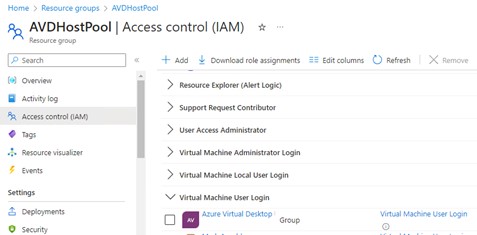
Once the RG is created go into the Access Control section and add a Role Assignment for “Virtual Machine User Login. Make the security group you just created a member of that role. This will be what enables your users to access the virtual desktops.
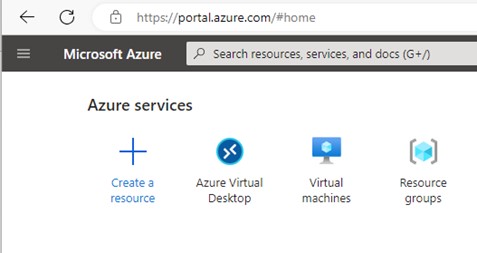
That’s the core groundwork done. The next step is to search for Azure Virtual Desktop and access that.
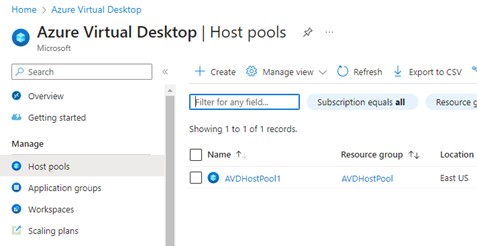
Now create your first Host Pool. There will not be one there already, but it is shown here for illustrative purposes.
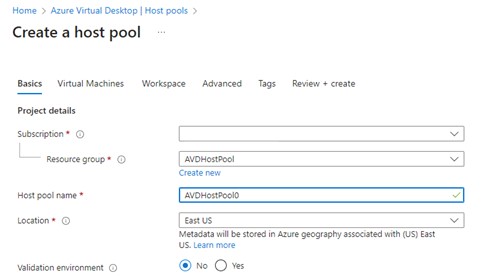
Select the correct Azure Subscription and choose the Resource group that you just created.
If you are just presenting a desktop, then select these settings. The assignment type is set to ’automatic’ so that you don’t have to assign a user to each AVD that you create.

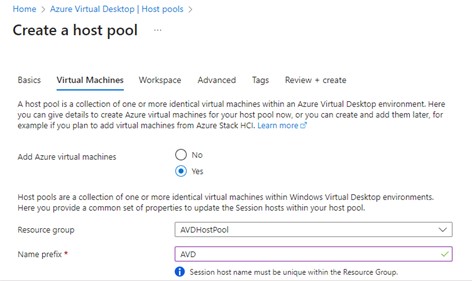
Scroll down and select to add a number of Azure Virtual Machines, then select the Resource Group that you created earlier. This is where the host pool gets its permissions from. Had you created a new RG as you went through this wizard you would have had to go back into the RG and assign the permissions. Done in the order shown above you know that the RG already has the Role Assignments you need.
The name prefix is just what It says; it is the first few letters of the virtual machine name.
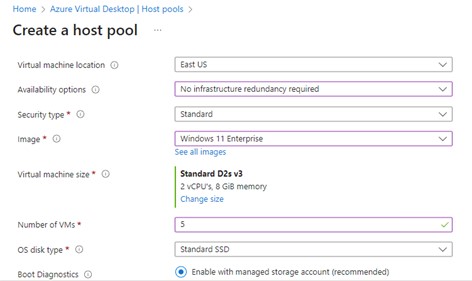
Scroll down some more and you can continue entering information, this time on redundancy and the type of AVD you are creating. All machines in this pool will share the same image from the Azure marketplace. Obviously, you can have a number of host pools for different sizes of machines, and these will be reflected in the web interface when the user connects – assuming the user has been granted access to more than one host pool.
The next scroll gets you the networking section. In this section you can leverage one of your existing networks to fit in with your infrastructure management processes.
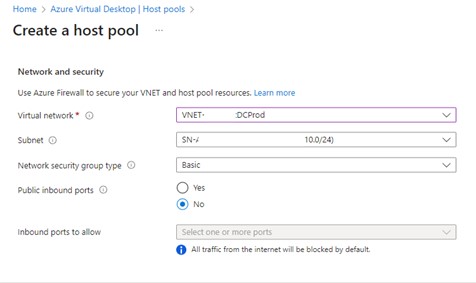
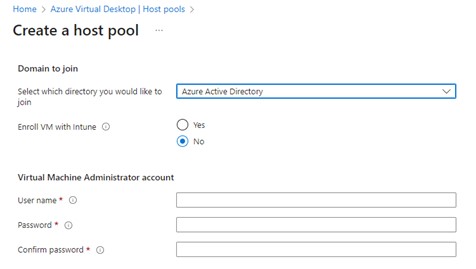
This is the point at which you have two choices, each with very different outcomes. Taking the most common first; that to join Azure Active Directory.
If you wish, you can enroll the AVDs into Intune. Sometimes you have the licenses for it, sometimes not. You will know which road you are taking with regards to Intune. Verinext highly recommend having the licenses for, and deploying, Intune across your Microsoft 365 tenant.
This is also the point at which you get to set the local administrator account name and password, facilitating the same account across all of the AVDs. This is set once and if you add more AVDs you are not asked for this information again, thus reducing the scope for typo’s.
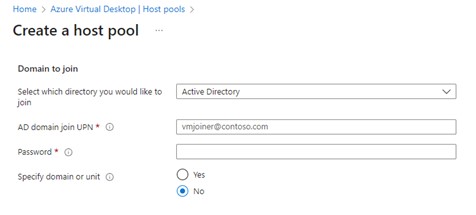
However, it is also possible to join either an on-premises Active Directory (AD), or an Azure Active Directory Domain Services (AADDS). This action is as simple as the previous option, simply provide the AD join credentials and, if required, the OU to place the AVDs into.
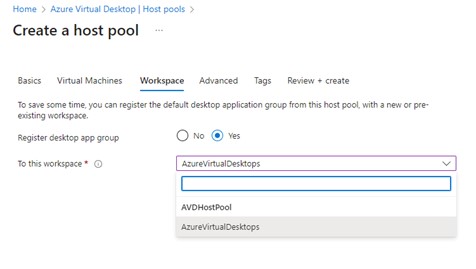
The final relevant step is to specify the Workspace. There is an option to create application groups and additional workspaces, but that is a topic for a later post. The defaults here are enough to get started and allow users to be productive.
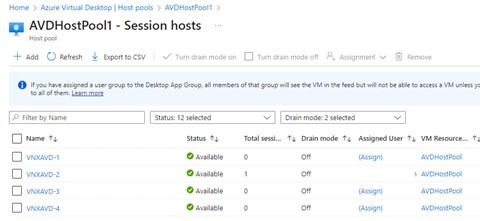
Once you finish the wizard, adding your tags as your processes require, the AVDs will be created and be ready for use. In the example below one person is accessing an AVD.
How do the user gain access?
End users given access to Azure Virtual Desktop resources can connect to them by a couple of methods.
Method One:
Connect to the web interface using the URL: https://client.wvd.microsoft.com/arm/webclient/index.html
Method Two
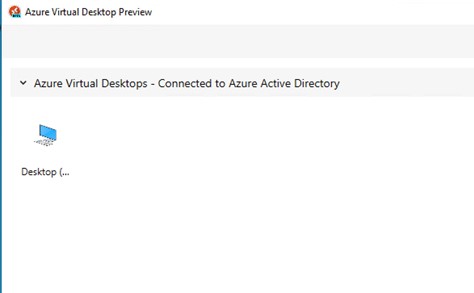
The other method is to download the Azure Virtual Desktop Preview client. Information and the download links are provided from this Microsoft page: Remote Desktop clients for Azure Virtual Desktop – Azure Virtual Desktop | Microsoft Learn The desktop client is available for Windows, MacOS, iOS, and Android.
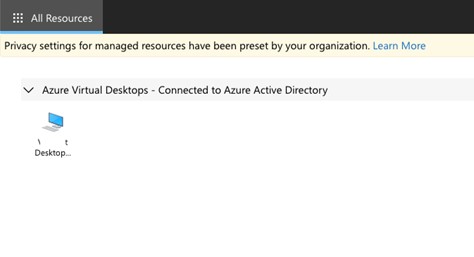
End users are presented with the desktops to which they have access. By default, the descriptions are not at all helpful, but you can modify them to suit your requirements and make things more user-friendly.
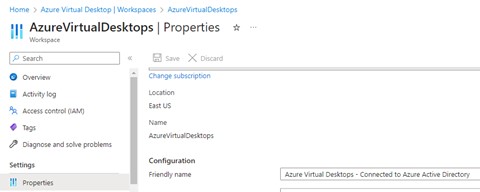
To modify where you in the above example you see “Azure Virtual Desktops – Connected to Azure Active Directory”, you modify the properties of the Workspaces section.
To modify the name of the AVD to be connected follow the long path as shown below.

And that is it, your AVD is available for connection. The Microsoft 365 apps that the user can access as well as certain other company-mandated apps are delivered to the desktop.
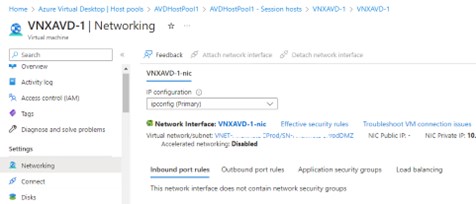
Aren’t We Missing Something? RDP perhaps?
Indeed not. At no stage in this have you created a public IP address, a network security group, or an inbound rule to permit TCP 3389 (RDP). So do not be surprised that you haven’t done anything to assign anything like this, or even configure Bastion either. Azure Virtual Desktops are designed not to require any kind of public IP access or such things. However, your Multi-Factor Authentication requirements are met by the URL that you enter before viewing the available desktops. If you don’t pass MFA at that URL you don’t get to see and connect to available desktops.
There is an exception, however. If the decision is made to connect to an Active Directory authentication source, then RDP will be required. An AVD joined to AAD needs no RDP but one that is connected to AD does. This means a public IP address will be required as well as firewall exceptions. If the AVD is designed to be accessed from devices on the Internet and not controlled by the company, then that may represent an unacceptable security exposure. This will heavily influence your decision-making on whether to go AAD joined, or AD joined.
Summary
This has been just a quick primer on how to get started with Azure Virtual Desktop. There is a lot more to the feature, but this guide will help most audiences get up and running and decide whether or not they wish to further pursue this technology.
Learn more on how Verinext can assist you in your migration or contact us today.


