
It had been many years – a decade in fact since I had cause to get involved in migrating users, computer accounts, and groups from one Active Directory Forest to another. As is the case with buses, you don’t see one for ages and then three turn up at once.
This caused much scratching of chins and spinning up of test VMs in Azure to remind ourselves of the process of where to install the various components involved. This was brought about by the seeming lack of existing material in the Google machine. This is understandable since people move on in their careers and this kind of older stuff tends to age out. So, here’s our contribution to putting the tribal knowledge back with an updated step-by-step process.
Getting Started
In the example shown here, there are two AD forests. One is called ADMTSource.com and the other ADMTDest.com.
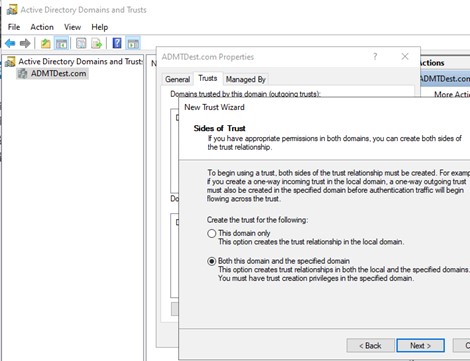
The first step will be to put a two-way trust in place for the two forests. This can be done from either the source or the destination and can be done for both forests in one activity.
Figure 1: Create Trust Relationship
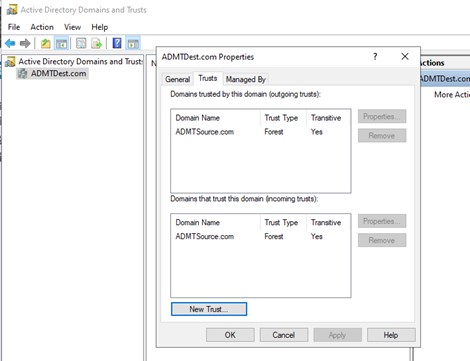
Once complete, note that the trusts are visible from the AD Domains and Trusts screen.
Figure 2: Trust Relationship
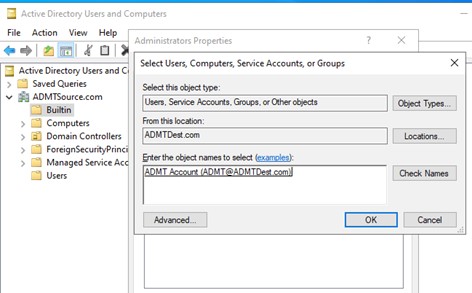
Once the trust relationship has been put into place create an account in the destination domain and add it to the Domain Administrators group. Then add this account to the BUILTIN > Administrators group on the source domain. This will facilitate ADMT which will be installed on the destination domain being able to read and process objects in the source domain. In addition, create an identical ADMT account on the source domain because you’ll need it for the Password Export Service later.
Figure 3: Cross-Forest Account Administration
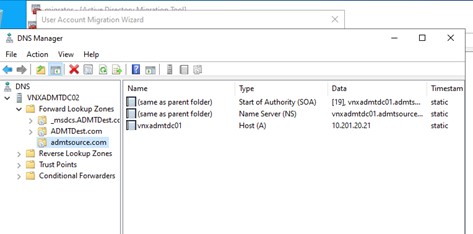
With the trusts in place create a stub DNS zone in each domain as shown below. This is necessary to help the ADMT tool resolve the domain controllers to be interrogated when the time comes.
Figure 4: DNS Stub Zone
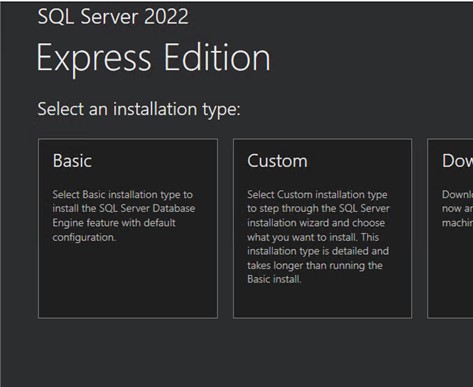
The next step is the SQL Express. Install this on the destination domain. It certainly doesn’t have to be done on a domain controller, but it was done so on this example environment. Log onto the server as the ADMT account. We wanted to see how far we could push the versions so went straight to the top and installed SQL Express 2022 to see what might break. We were pleasantly surprised that nothing untoward happened at all. Run the wizard through and select ‘Basic’, then all the defaults.
Figure 5: Install SQL Express
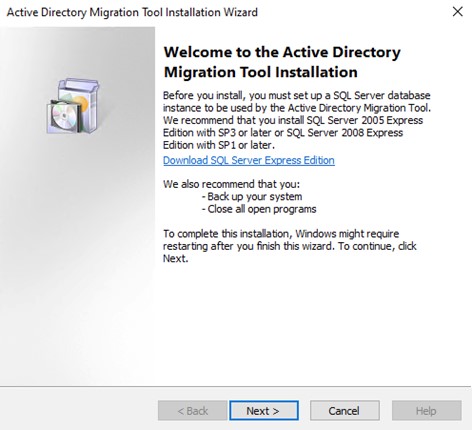
Once SQL has been installed the next move is to install ADMT itself. Start the wizard and carry it through.
Figure 6: ADMT Wizard
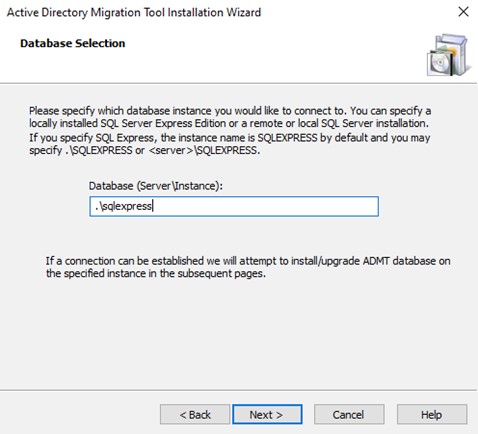
Enter the SQL Express database name. If you have chosen to not install SQL Express but instead used an existing SQL installation you will enter something different than that shown below.
Figure 7: Database Selection
There isn’t much else to pay attention to in the rest of the wizard so finish that up and give the server a reboot to make sure everything took hold.
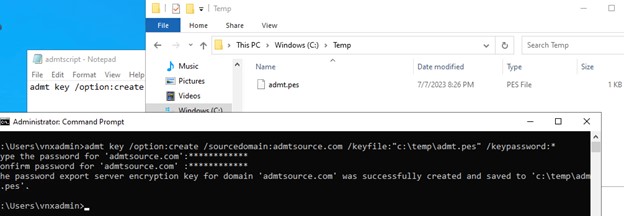
After the reboot call up a command prompt in admin mode and enter your local equivalent of this:
Admt key /option: create /sourcedomain: admtsource.com /keyfile: “c:\temp\key.pes” /keypassword:*
Use whatever password you wish but remember it because you’ll need it for the next step.
Figure 8: ADMT Key File Creation
Copy that file to wherever on the source domain that you have chosen to install the Password Export Server. It will need to be a local drive on that server.
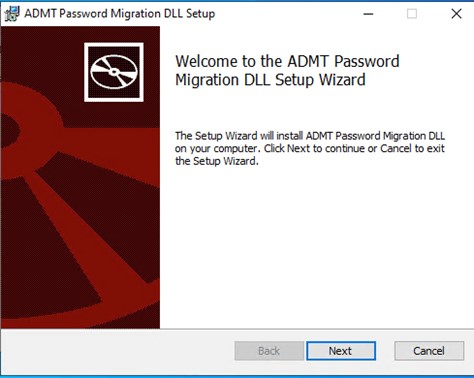
Switch you attention to the source domain and download & install the Password Export Service. Get it from this link: Download Password Export Server version 3.1 (x64) from Official Microsoft Download Center.
Figure 9: Install PES
In this wizard, you will be asked to provide the key file and enter the password for it as shown below.
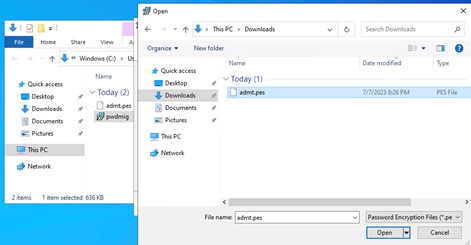
Once you’ve selected the file you will be prompted for the password you entered when you generated and exported the key.
Figure 10: PES Key Password

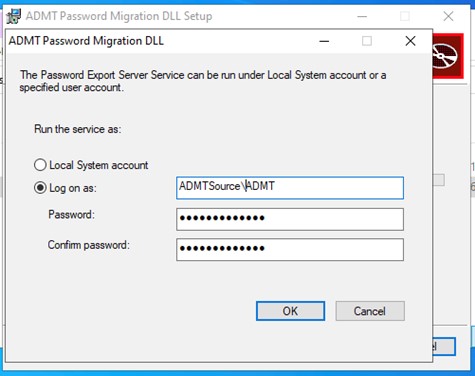
Next, specify the account in the source domain that will be used for the service. This is where you enter the details of the ADMT account you created earlier.
Figure 11: ADMT PES Service Account
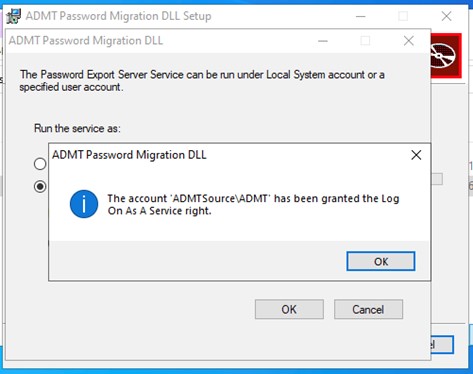
This confirms that the necessary service rights have been granted.
Figure 12: Log on as a Service Confirmed
We noticed that the service was created with the startup type of Manual. If you wish to change that to Automatic that’s fine but in any case, do give the server a reboot. We had access denied issues with ADMT in the destination until we gave the source server a reboot. We did nothing other than to do the reboot and the errors were cleared in ADMT.
Open up the ADMT tool (in the destination domain of course) and select the User Account Migration Wizard to test it all out.
Figure 13: ADMT Home Screen
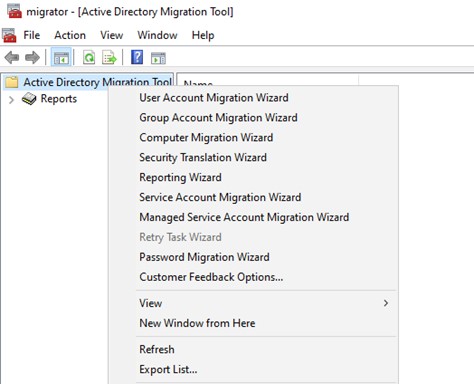
Work through the wizard as shown below. We worked through a number of scenarios which included installing ADMT in the source domain just so that we would know what happened. We often do weird and unwritten things just so that we’re forearmed if a customer comes to us and asks a question. If we know what happens when we do something wrong, we can understand better what the customer may have done and help them correct it.
Figure 14: ADMT Domain Selection
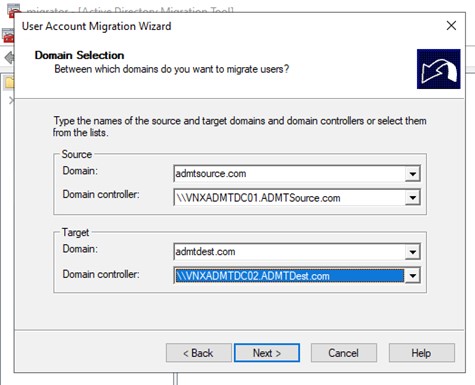
In this example, if we installed ADMT in the source domain we could not get an enumeration of the domain controllers in the destination. With ADMT installed in the destination the right domain controllers would immediately drop down. The reason here is that the ADMT account from the destination is an administrator in the source domain but not vice versa. You don’t need the source ADMT account as an administrator in the destination. It’s an additional, albeit small, security attack vector that you don’t need, so why do it?
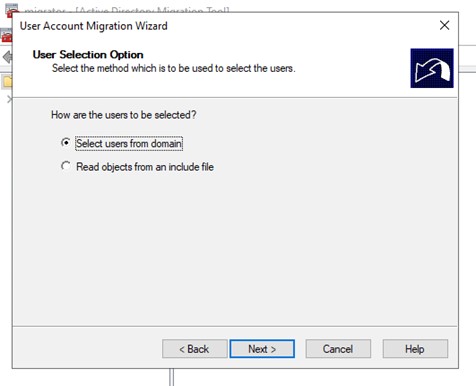
With the target and source domain controllers selected (remember in this example we only had one of each, but you’ll have several in your dropdown list so choose the one that’s best placed for you) you can select a user account to test a migration.
Figure 15: ADMT Select Users
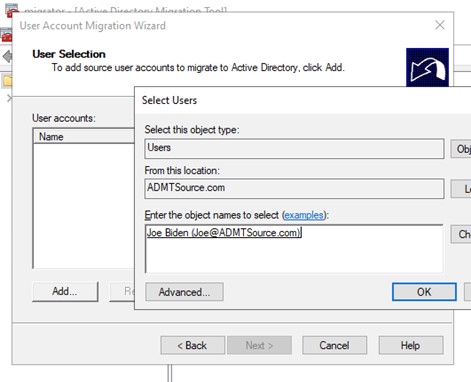
Change the source location to the source domain and then select your test account. Since the trusts are in place and you’re using the ADMT account the selected name should have no issues being confirmed.
Figure 16: ADMT User Selection
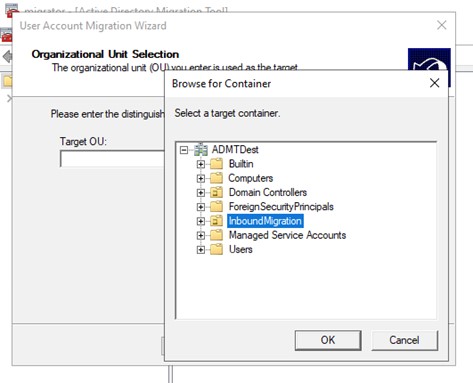
The next is to select the local Organizational Unit (OU) to where the migrated accounts will be stored. In this example, we kept it simple.
Figure 17: OU Selection
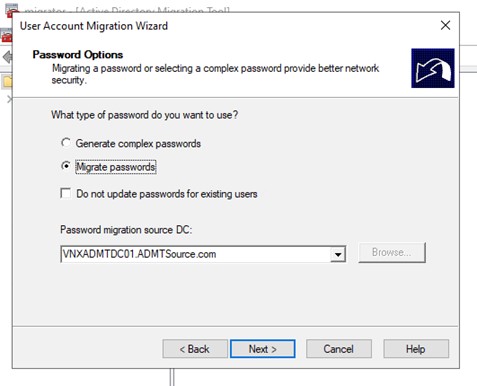
Since you did install the PES you can choose to migrate the passwords and select the server as shown below.
Figure 18: Password Migration
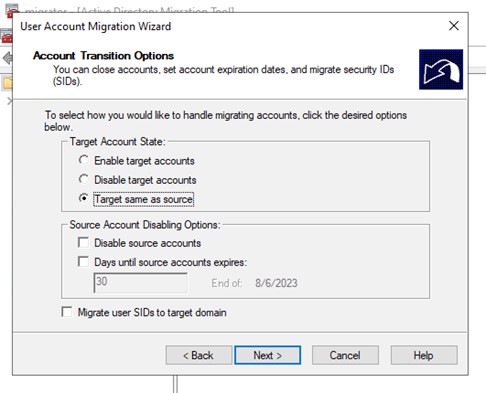
Next are some options on whether to enable, disable, or change nothing about the source account when it gets added to the destination. We left the defaults to migrate the account in the same state as it was in the source.
Figure 19: Account State
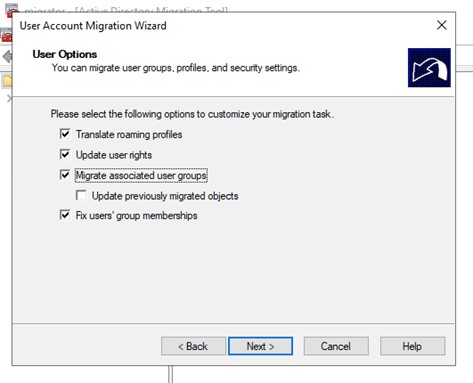
What we also decided to do on this test migration was to migrate any groups the user is a member of, as shown below.
Figure 20: Other ADMT Options
And that’s it. Let the migration process do its thing, and this is what you’ll end up with.
Figure 21: ADMT End State
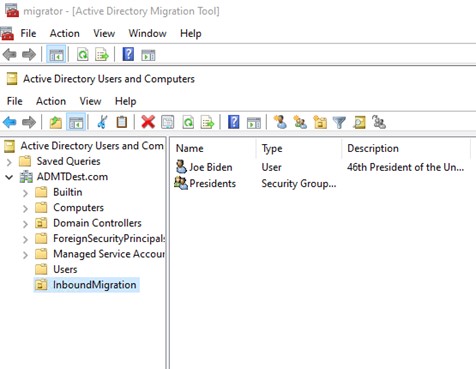
That test user was only in one group and when you tick the box to migrate any groups with the user you don’t get the option to select where you want that group created. Of course, once your migration is complete you can move the group to wherever you need in the hierarchy of the new domain.
We noticed that all of the details of the account in the destination domain were migrated with the exception of the Email address (aka ‘mail’ in the AD schema). Other things, including address, phone number, and even website did come over.
In Summary
As mentioned, it’s been a long time since we touched ADMT since a major part of our engagements these days are to take services to the cloud and gradually do away with on-premises environments. But since historical references were thin on the ground and there’s been an uptick in forest to forest migration requests (largely due to M&A and subsequent consolidation projects) we thought this guide might be of use to the community.
And of course, if you don’t want to do this yourself, you know who you can call and Verinext will be glad to help!


